

How to build a twitter bot that tweets every 10 minutes with Python and Tweepy


Building a twitter bot is a simple and very interesting project to take on as a developer. While there’s a wide range of functionalities you can choose from, in this article, I’ll highlight how to build a twitter bot that makes a tweet, every 5 minutes.
Prerequisites:
- Python 3.6+
- Tweepy
- Twitter API
- Heroku
Getting Twitter API Access
In my opinion, it’s best you create a twitter account and apply for access before you start project. This would help you test your program efficiently and if your application isn’t approved as soon as it should be, you can sort it out before you’re finished with your project.
To get your application approved by twitter, you have to ensure your app use case doesn’t violate the policies, and it takes only a few minutes or an hour at most. To apply for access, visit developer.twitter.com.
Setting up the Directory
Going over what we would be working on; we’re building an app that sends tweets on its own. For this project, we would be making use of the iAffirm API. This app would make requests to the API to get affirmation messages, pick a random message, create a tweet with the message and then, send the tweet.
For simplicity, we would structure our app like this:
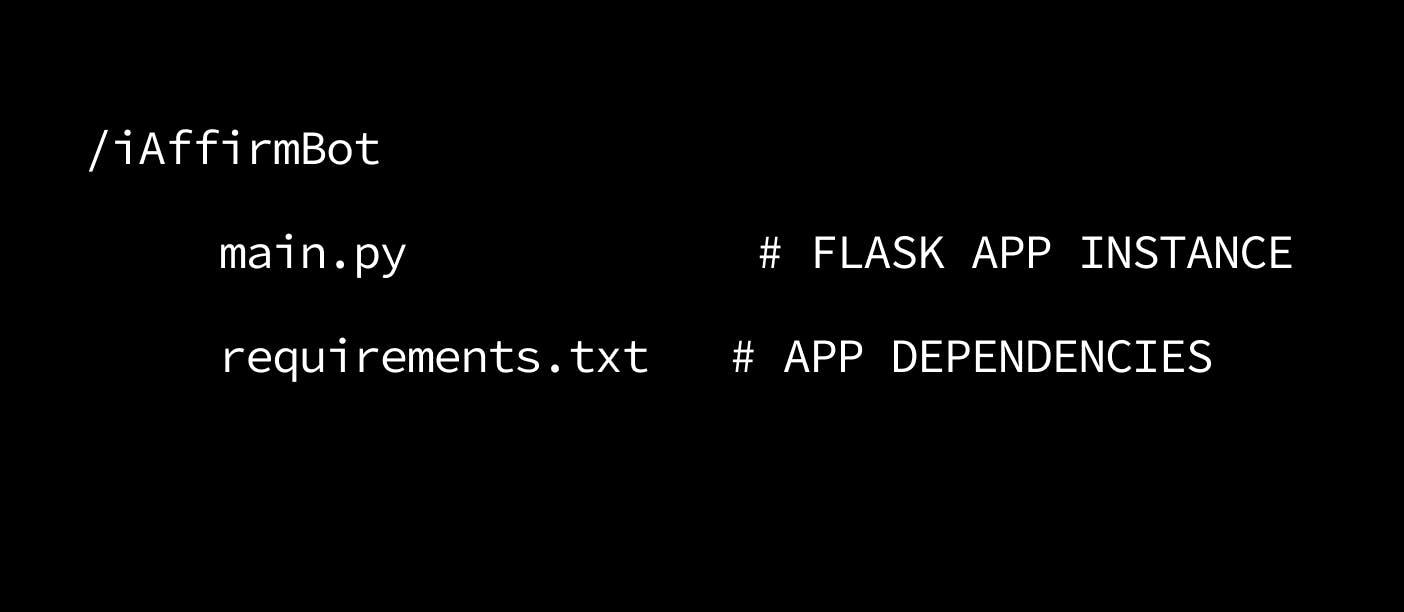
Once this is done, we can setup the environment we would be working in. To create and activate the virtual environment, run the following commands:
To create a virtual environment:
  # FOR MACOS/LINUX
  python3 -m venv venv

  # FOR WINDOWS
  py -m venv env
To activate the virtual environment:
  # FOR MACOS/LINUX
  source venv/bin/activate

  # FOR WINDOWS
  .\env\Scripts\activate
Installing the dependencies
There are different libraries available for using the twitter api. However, our app is dependent on the Tweepy library. To install Tweepy,
$ pip install tweepy
After successful installation, we can now add our dependencies to the requirements.txt file which is required during deployment. To do this, you can run;
$ pip freeze > requirements.txt
Setting the Environment Variables
To test our application, we would need to add some environment variables to our .env file. These environment variables are tokens/key that we can get from our twitter developer portal. Though, we would have to create a .gitignore file to prevent committing the API Keys to the repository.
To get your API Keys, login to your developer portal and create an app.
After creating an app, navigate to your dashboard, then click “Keys and Tokens”. Regenerate and copy your tokens to the .env file. Once you retrieve your tokens, the .env file should look like this:
# FOR MAC/LINUX USERS
export API_KEY=your.api.key.goes.here
export API_SECRET_KEY=api.secret.key.goes.here
export ACCESS_TOKEN=access.token.goes.here
export ACCESS_TOKEN_SECRET=access.token.secret.goes.here

# FOR WINDOWS
set API_KEY=your.api.key.goes.here
set API_SECRET_KEY=api.secret.key.goes.here
set ACCESS_TOKEN=access.token.goes.here
set ACCESS_TOKEN_SECRET=access.token.secret.goes.here
Configuring our app
With everything set up, it would be good to try out a test tweet. Let’s try tweeting hello world from our app. In our main.py :
# IMPORT THE LIBRARIES
import tweepy
import os

# SET UP APP CONFIG
consumer_key = os.environ.get('API_KEY')
consumer_secret_key = os.environ.get('API_SECRET_KEY')
access_token = os.environ.get('ACCESS_TOKEN')
access_token_secret = os.environ.get('ACCESS_TOKEN_SECRET')

# TO AUTHORIZE THE APP
auth = tweepy.OAuthHandler(consumer_key, consumer_secret_key)
auth.set_access_token(access_token, access_token_secret)

# CREATE API OBJECT
api = tweepy.API(auth)

# CREATE TWEET
api.update_status("Hello World!")
To run the code above, we can set our environment variables in the terminal and start the server by running the command:
$ python main.py
If all went well, we should have a new “Hello World!” tweet on our account.
Building our bot functions
We’ve tried out a test tweet, now let’s get to it.
The first step we’re taking is requesting the affirmation messages in json format from the iAffirm API with the requests library:
# IMPORT THE LIBRARIES
import tweepy
import requests
import json
import os

# SET UP APP CONFIG
consumer_key = os.environ.get('API_KEY')
consumer_secret_key = os.environ.get('API_SECRET_KEY')
access_token = os.environ.get('ACCESS_TOKEN')
access_token_secret = os.environ.get('ACCESS_TOKEN_SECRET')

# REQUEST MESSAGES FROM THE API
def get_affirmations():
    response = requests.get('https://iaffirm.herokuapp.com/affirmations').text
    affirmation = json.loads(response)
    return(affirmation["affirmations"])
The next thing we need to define, is the function to pick a message at random from the list that is returned by the get_affirmations function. Import the random module to your code and create the function:
# PICK A RANDOM MESSAGE
def get_random_affirmation():
    affirmations = get_affirmations()
    random_affirmation = random.randint(0, len(affirmations) -1)
    return (affirmations[random_affirmation]['text'])
Now that we have our functions to get random messages, we can define function to create and send the tweet.
# CREATE THE TWEET
def create_tweet():
    affirmation = get_random_affirmation()
    tweet = (affirmation)
    return tweet

# SEND THE TWEET
def tweet_message():

    # AUTHORIZE
    auth = tweepy.OAuthHandler(consumer_key, consumer_secret_key)
    auth.set_access_token(access_token, access_token_secret)
    api = tweepy.API(auth)

    # SEND
    tweet = create_tweet()
    api.update_status(tweet + " #iAffirm")

# TO RUN THE APP
if __name__ == "__main__":
     tweet_message()
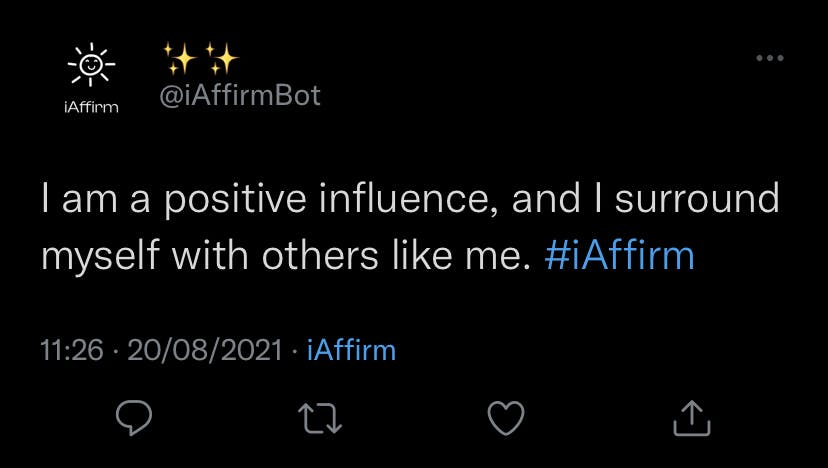
With all that code-writing in place, let’s test it! Set your environment variables in the terminal, and run the command:
$ python main.py
When we check our twitter account, we should have a tweet with your app’s name, like this:
Though our bot works, we want to set intervals for it. I mean that the aim is to get the bot to tweet every 10 minutes.
To do this, import the time module and make the following additions to our tweet_message function:
# SEND THE TWEET
def tweet_message():

    # AUTHORIZE
    auth = tweepy.OAuthHandler(consumer_key, consumer_secret_key)
    auth.set_access_token(access_token, access_token_secret)
    api = tweepy.API(auth)

    # SET INTERVAL IN SECONDS
    interval = 60 * 10
    while True:

       # SEND TWEET
        try:
          tweet = create_tweet()
          api.update_status(tweet + " #iAffirm")
          time.sleep(interval)

        # ERROR HANDLER
        except tweepy.TweepError as e:
          print(e.reason)

# TO RUN THE APP
if __name__ == "__main__":
     tweet_message()
The error handler is important to prevent the app from crashing. In many cases, it’s possible for random module to pick a tweet that has already been picked. Because there’s a developer policy on duplicate tweets, the bot would throw a DuplicateError sometimes. However, the error handler prevents it from crashing the app.
Now, we can run our bot again, to see if it makes another tweet in 10 minutes.
Deploying our bot to Heroku
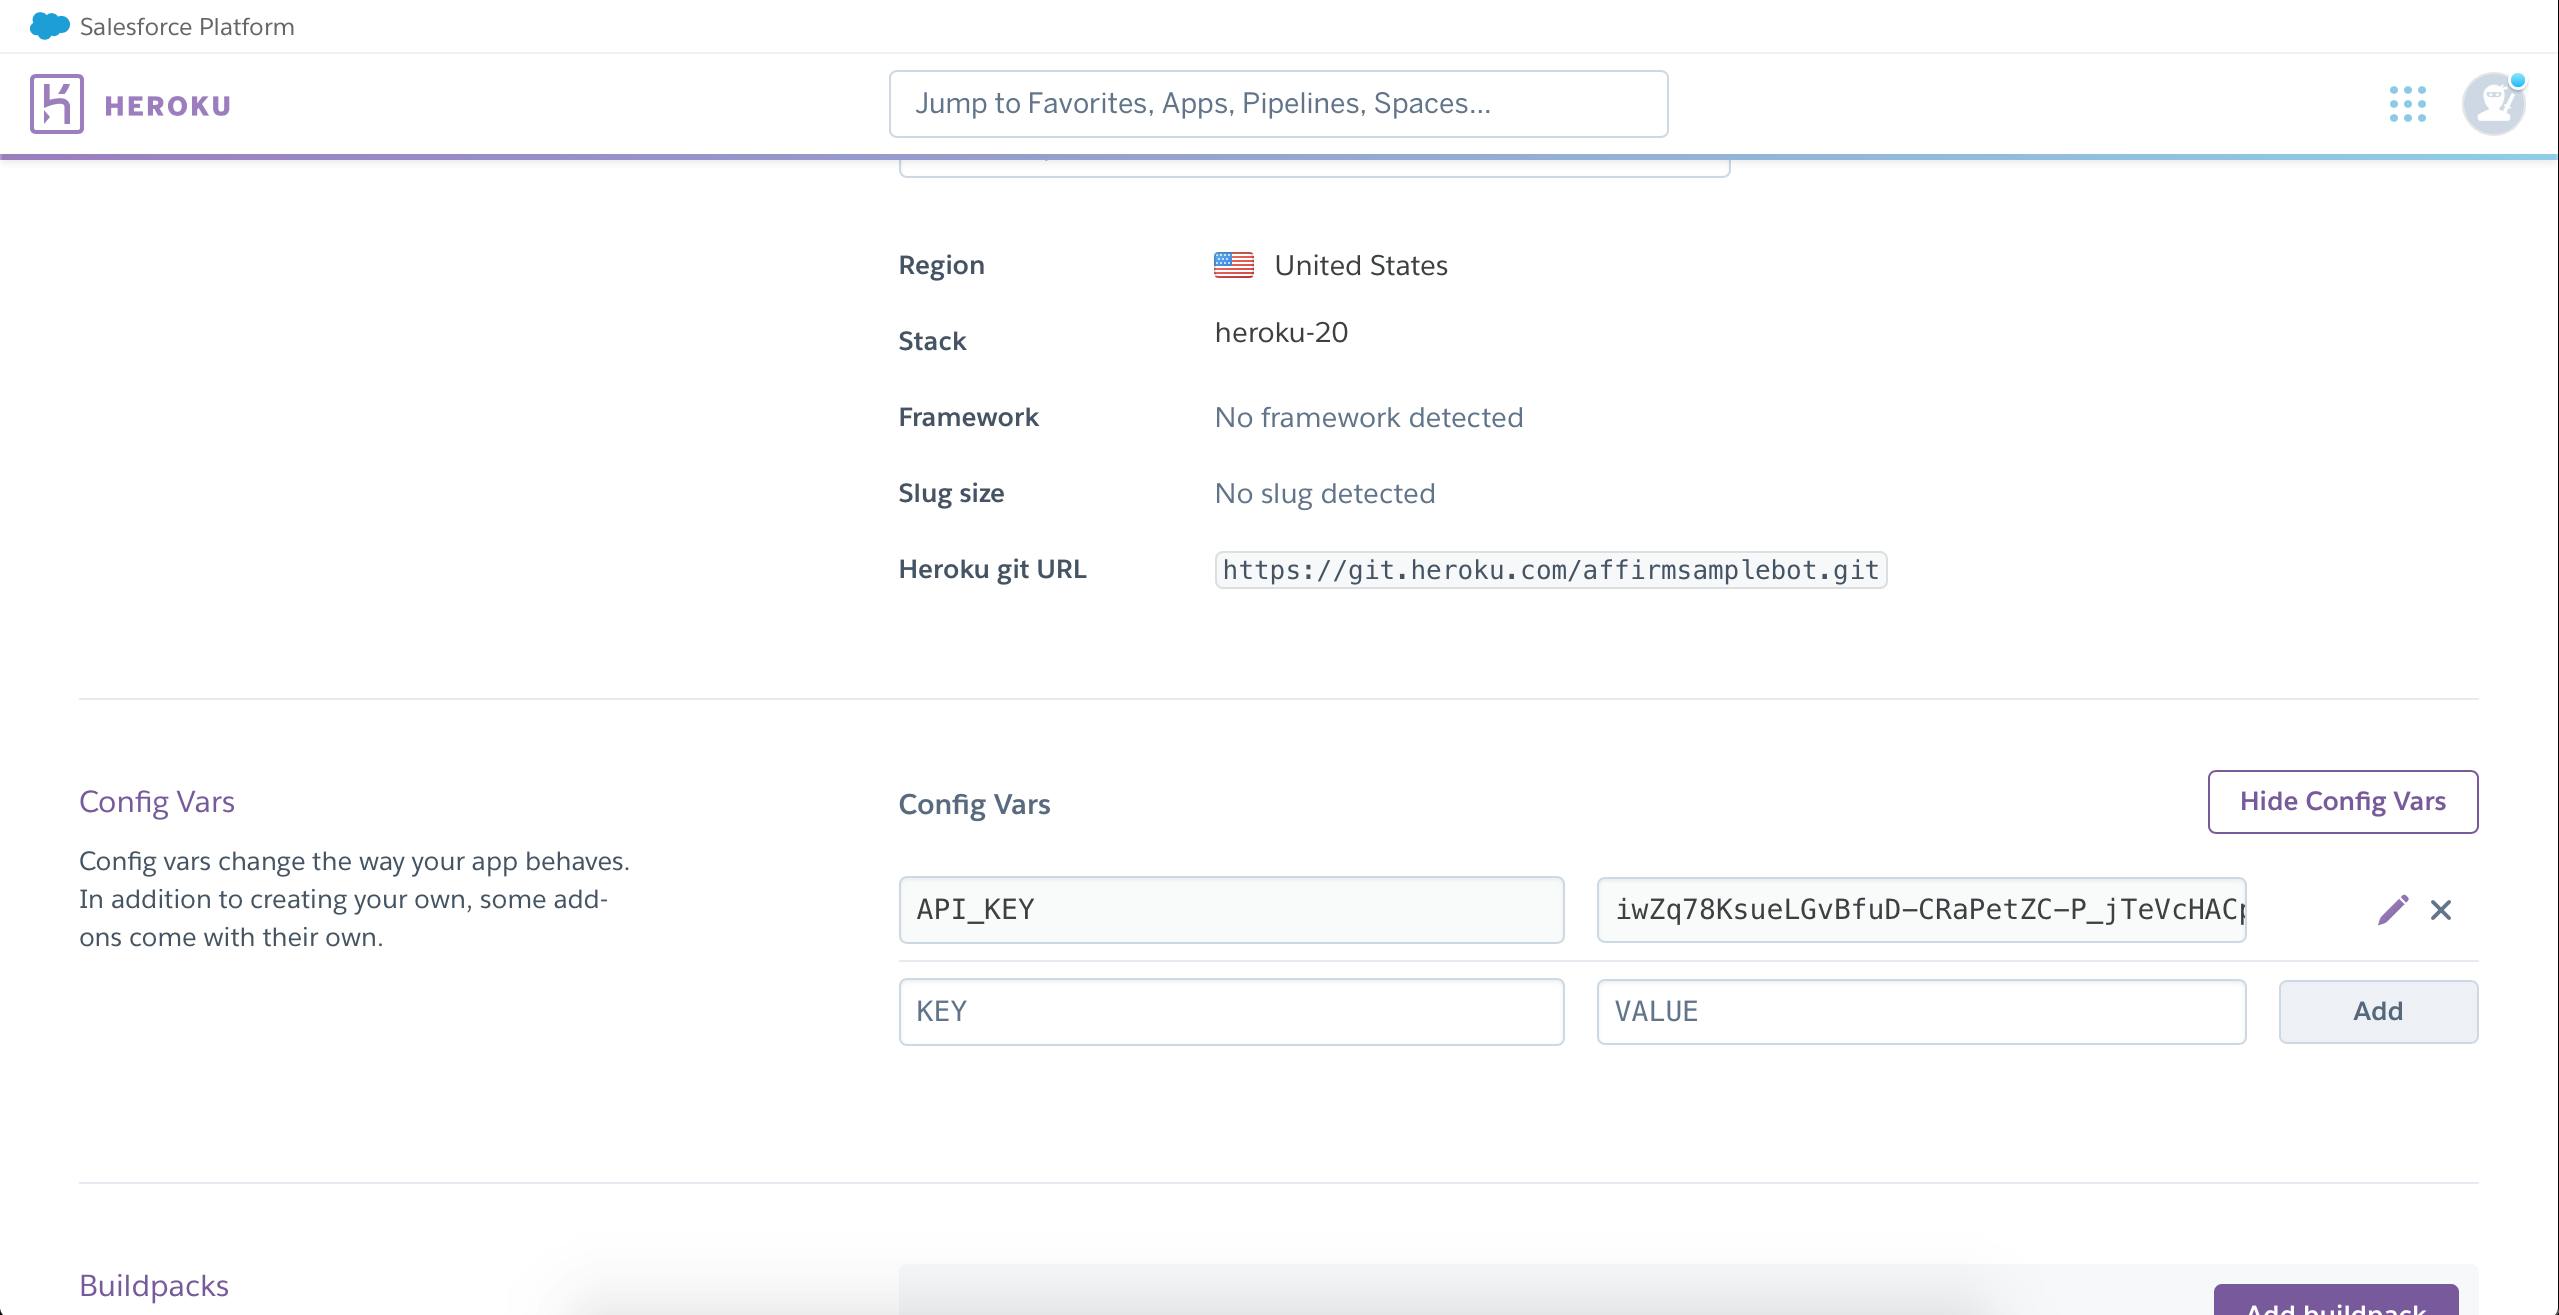
Yaay! Our app works great. However, we can’t always run our bot in our terminal. We have to deploy our app to Heroku. If you do not already have an account, visit Heroku.com to create an account.
Login to your dashboard and create an app. Once you do so, you can navigate to “Settings”, then reveal config vars to add your environment variables. Add the key - value pair from your .env file one after the other.
After the config variables are set up, we can go back to our code editor to create the Procfile . This is a file that specifies the commands to be executed by the app. In our Procfile, we would declare a worker(background task) that keeps running. To set the worker,
worker: python main.py
On declaring the worker, you want to make sure your app has all its dependencies in the requirements.txt file by running the following command in your terminal.
$ pip freeze > requirements.txt
Now, we can proceed with deploy our app from the terminal, with Heroku CLI. If you do not have package on your local computer, you can download and install.
To get started with the deployment process, in your terminal, run the command:
$ heroku login # TO CONNECT TO YOUR ACCOUNT
Initialize a Git repository
$ cd my-project
$ git init
Just like Git, you have to add a remote repository to your local repo, to connect your heroku app with the local repo. To do this,
$ heroku git: remote -a <app name>
To deploy the app, commit your code to the repo and push to heroku using the Git commands:
$ git add .
$ git commit -am "commit message"
$ git push heroku master
It is important to take note of your branch name when pushing your code. If you already have a remote repository with a different branch name, in place of master , you should make use of the branch name.
The last thing we want to do after deploying our app to Heroku is set up a dyno to keep our worker running, by running the command:
$ heroku scale worker=1
Once this is done, your twitter account should have a new tweet. If your app doesn’t create a new tweet, it means the same worker wasn’t scaled properly. To run it manually, you can use the command;
$ heroku run worker
…and Viola!!! We’ve built and deployed a twitter bot to make tweets every 10 minutes.
Conclusion
In this article, I made use of the iAffirm API which I built, but you can create a list of messages or quotes as dictionaries in your python app. As previously mentioned, there are tons of available use cases for twitter bots that you can and should definitely try.
You can find the complete code on GitHub.
I hope you enjoyed reading this tutorial and found it useful. Feel free to drop any questions in the comments, and if you would like to show your support by sponsoring, you can buymeacoffee.😊