


Imagine if your favourite native PC applications didn't have user interfaces — like your PC calculator — and you had to interact with it via the command line? Not so nice, right? Python provides various options for developing Graphical User Interfaces (GUIs).
In this article, you will learn the basics of tkinter, understand what widgets are and how to use them and also how to control your application layout with geometry managers.
What is a GUI?
GUI programming is the process of creating user interfaces for native applications that run directly on a machine's OS ( not web applications). In python, there are several frameworks we could use, such as: tkinter, kivy, wxPython and many more. However, tkinter is the only framework that is built into the python standard library.
Getting started with Tkinter
Tkinter is the go-to tool for python developers when it comes to developing GUIs because it is a very fast and easy system for developing programs. Though the Tkinter framework comes with Python Package installers, the latest version of Python remains an exception.
How to set up Tkinter for Python 3.9
Setting up Tkinter is primarily done via the command-line interface, which we can access with our system terminals.
If you are using Windows, for detailed Tkinter install instructions, check out this blog post:
How to install Tkinter in Python
For macOS with Homebrew, here’s a simple guide:
Before beginning this process, start-up your terminal and ensure your python version is at 3.9 by typing the command:
python --version
Once that’s done, run the command:
brew install python-tk@3.9
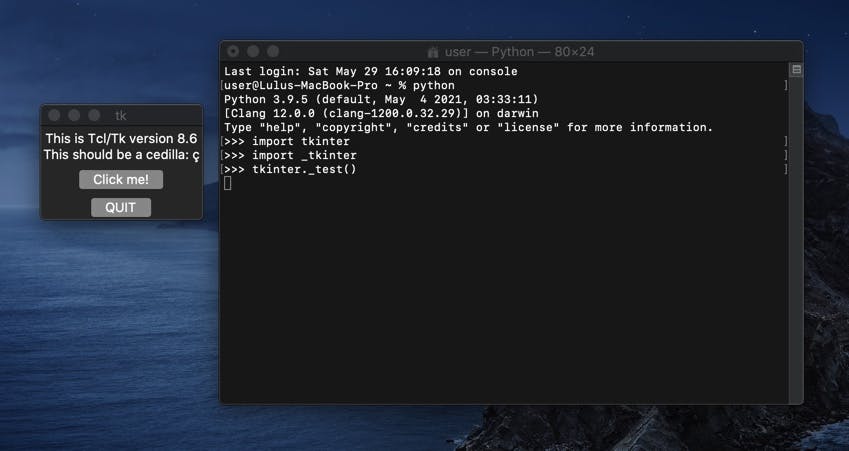
This command should install Tkinter in a few seconds. To verify the installation process was successful and Tkinter is ready for use, start up your python shell and run the following commands:
import tkinter
import _tkinter
tkinter._test()
When you enter these commands, a test GUI should appear on your screen like this:
Using widgets in Tkinter
A widget is an element of the GUI that displays information for the user and software to interact. In Tkinter, this means that the button, frame, menu, etc on the GUI are simply called widgets.
The algorithm for building a GUI in Tkinter involves 4 main procedures:
- Import the Tkinter module.
- Create the GUI application’s main window.
- Create and add widgets to the window.
- Enter the main loop to allow the application to take action.
With this algorithm, the structure of your code should look like this:
from tkinter import *
# ----- To create main window -------
window = Tk()
window.geometry("200x150") #to set size
# ----- Enter widget codes here ------
# ------ using a button as example ----
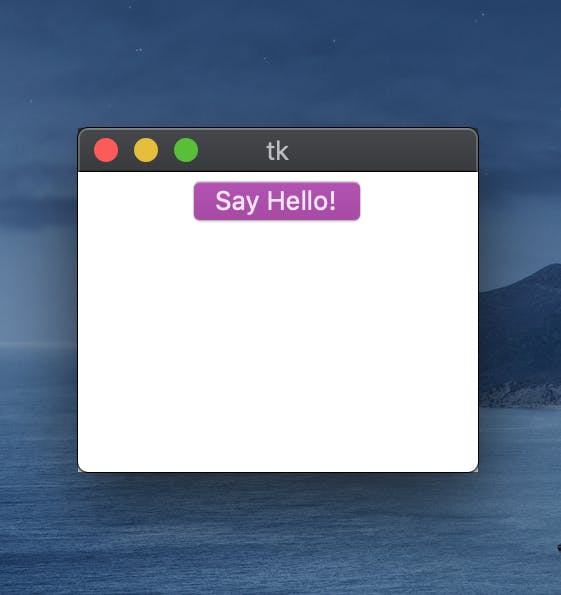
btn= Button(window, text='Say Hello!')
btn.pack()
# ----- The main loop -----
window.mainloop()
The code above, if written correctly, should give the output as:
In Tkinter, there are different widgets available for use. Some of the most common include:
Frame: A frame is used as a container to hold different widgets.
Syntax:
My_frame = Frame(options) where options are configurations for the Frame.
For instance:
from tkinter import *
#------- our window ------
root = Tk()
root.geometry('300x300')
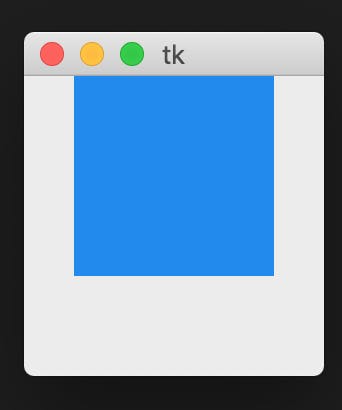
#------ our widget ------
box_1 = Frame(bg= "#1687F0", width=100, height=100)
box_1.pack()
root.mainloop()
Output:
Button: This is used to add buttons to the GUI window, so the user can interact with your program.
Syntax:
btn = Button(options) where options are configurations for the widget.
For instance:
from tkinter import *
#------- our window ------
root = Tk()
root.geometry('300x300')
#------- our widget ------
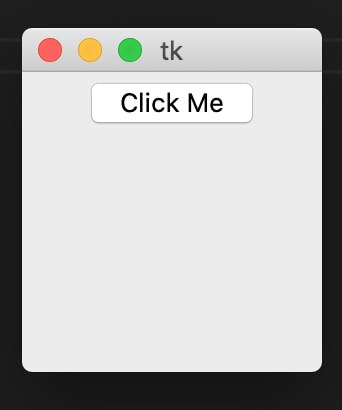
btn = Button(text= "Click Me",fg="black")
btn.pack()
root.mainloop()
Output:
Label: A label is used to display text on the GUI window.
Syntax:
My_label = Label(options) where options are configurations for the widget.
For instance:
from tkinter import *
#------- our window ------
root = Tk()
root.geometry('300x300')
#------- our widget ------
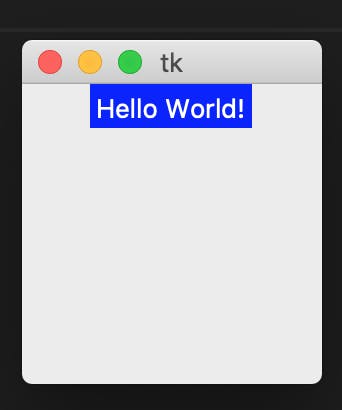
my_label = Label(text= "Hello World!",fg="white", bg= "blue")
my_label.pack()
root.mainloop()
Output:
Entry: It is used to collect data or allow input from users on the window.
Syntax:
My_input = Entry(options) where options are configurations for the widget.
For instance:
from tkinter import *
#------- our window ------
root = Tk()
root.geometry('300x300')
#------- our widget ------
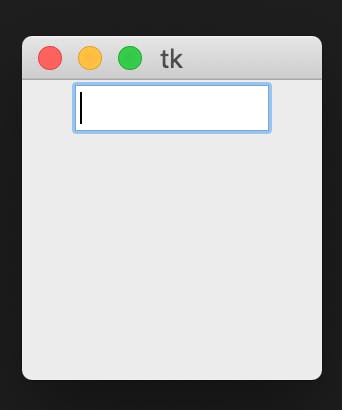
input_1 = Entry(width=10)
input_1.pack()
root.mainloop()
Output:
Checkbutton: This allows users to select more than one option from a set of options.
Syntax:
my_list = Checkbutton(options) where options are configurations for the widget.
For instance:
from tkinter import *
#------- our window ------
root = Tk()
root.geometry('300x300')
#------ our options ------
var_1 = IntVar()
var_2 = IntVar()
#------- our widget ------
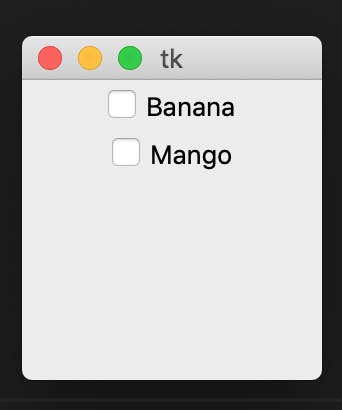
c_btn = Checkbutton(text = "Banana", variable= var_1)
c_btn.pack()
c_btn2 = Checkbutton(text = "Mango", variable= var_2)
c_btn2.pack()
root.mainloop()
Output:
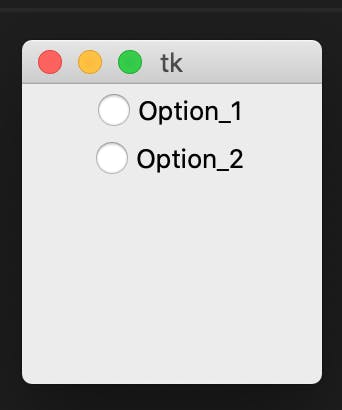
Radiobutton: A radio button allows users to select only one option from a set of predefined options.
Syntax:
r_btn = Radiobutton(options) where options are configurations for the widget.
For instance:
from tkinter import *

#------- our window ------
root = Tk()
root.geometry('300x300')

#------ our variable ------
var = IntVar()

#------- our widget ------
r_btn = Radiobutton(variable = var, text = "Option_1", value = 1)
r_btn.pack()

r_btn2= Radiobutton(variable = var, text = "Option_2", value = 2)
r_btn2.pack()

root.mainloop()
Output:
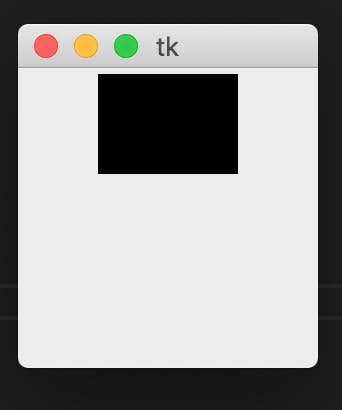
Canvas: A canvas is used to draw pictures, graphs etc.. or display images and text.
Syntax:
my_canvas = Canvas(options) where options are configurations for the widget.
For instance:
from tkinter import *

#------- our window ------
root = Tk()
root.geometry('300x300')

#------- our widget ------
my_canvas = Canvas(width= 250, height= 200, bg="#000000")
my_canvas.pack()

root.mainloop()
Output:
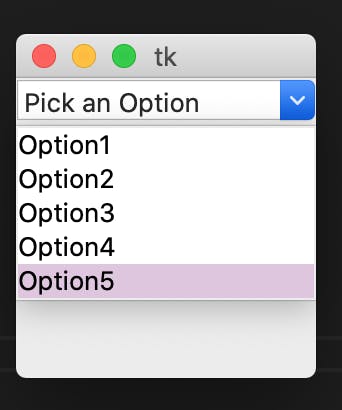
Combobox: This displays a drop-down list of options, one by one, for users to select from.
Syntax:
My_list = ttk.Combobox(options) where options are configurations for the widget.
For instance:
from tkinter import *
from tkinter import ttk

window = Tk()
window.geometry("150x150")

vlist = ["Option1", "Option2", "Option3",
          "Option4", "Option5"]

Combo =ttk.Combobox(values = vlist)
Combo.set("Pick an Option")
Combo.pack()

window.mainloop()
Output:
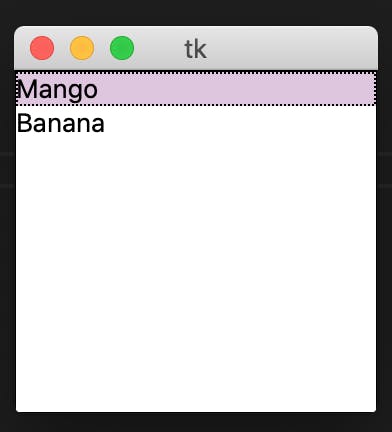
Listbox: This widget is used to display a list of options for the user to select from, in text format.
Syntax:
My_list = Listbox(options) where options are configurations for the widget.
For instance:
from tkinter import *

window = Tk()

vlist = ["Option1", "Option2", "Option3", "Option4", "Option5"]

list_box =Listbox(window)
list_box.insert(1, "Mango")
list_box.insert(2, "Banana")

list_box.pack()

window.mainloop()
Output:
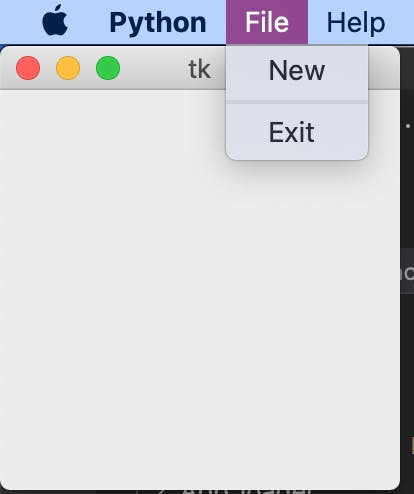
Menu: It is used to create the top-level and other types of menu in the GUI window.
Syntax:
my_menu = Menu(options) where options are configurations for the widget.
For instance:
from tkinter import *

#----------commands---------
def NewFile():
    print("New File!")

def About():
    print("This is a simple example of a menu")

#--------menu---------

root = Tk()
menu = Menu(root)
root.config(menu=menu)
filemenu = Menu(menu)
menu.add_cascade(label="File", menu=filemenu)
filemenu.add_command(label="New", command=NewFile)

filemenu.add_separator()
filemenu.add_command(label="Exit", command=root.quit)

helpmenu = Menu(menu)
menu.add_cascade(label="Help", menu=helpmenu)
helpmenu.add_command(label="About...", command=About)

root.mainloop()
Output:
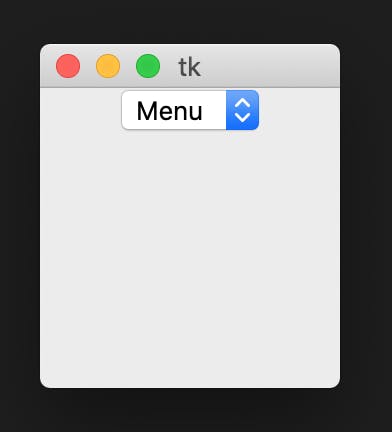
Menubutton: This is a combination of the button and menu widgets. It is a button that displays a drop-down menu when clicked. It also allows you to nest check buttons and radio buttons inside the menu.
Syntax:
My_menu = Menubutton(options) where options are configurations for the widget.
For instance:
from tkinter import *

root = Tk()
root.geometry("300x200")

menubutton = Menubutton(root, text = "Menu")

menubutton.menu = Menu(menubutton)
menubutton["menu"]= menubutton.menu

var1 = IntVar()
var2 = IntVar()
var3 = IntVar()

menubutton.menu.add_checkbutton(label = "Mangoes",
                                variable = var1)
menubutton.menu.add_checkbutton(label = "Bananas",
                                variable = var2)
menubutton.menu.add_checkbutton(label = "Apples",
                                variable = var3)

menubutton.pack()

root.mainloop()
Output:
To make use of these widgets, you need to create a window. To create a GUI window, the following syntax is used:
from tkinter import *

window = Tk()

#------ widgets go here -----

window.mainloop()
The above code should create a small window when you run it. The Tk() creates the window while .mainloop() keeps it running and therefore, should be at the very last line of your program.
You can also customize your window with several attributes such as colour, size, title, if resizable or not, padding, etc. For instance;
To make your window non-resizable and title, we use the syntax;
from tkinter import *

window = Tk()

#------ set new title -------
window.title("My GUI App")

#------ set to non-resizable -----
window.resizable(0,0)

window.mainloop()
However, to set other attributes such as padding and background, the method window.config(options) is called.
Setting Layout with Geometry Managers in Tkinter
Geometry managers are also called Layout Managers. They organize and place widgets in specific positions on the GUI window. So without attaching them to widgets, all you get is an empty GUI window. There are 3 main geometry managers in Tkinter;
pack()grid()place()
1. The pack() manager:
This is the simplest to use, in Tkinter. It is used to place widgets in Frames or windows from top to bottom or side by side. Although, with the pack() manager, you’re limited to positioning images on either left, right, top or bottom.
The pack() manager has different attributes but the most common are:
fill: This accepts three values —X,YandBOTH. These allow the widgets to fill available space along the horizontal axis, vertical axis or both.side: It specifies which side of the window to pack the widget to. These values accepted by this attribute are:LEFT,RIGHT,TOPandBOTTOM.expand: This is used to allocate more space to a widget. Its values are eitherTrueorFalse. WithFalseas default, when theexpandattribute isTrue, the widget expands to fill any extra space in the block where the widget exists.
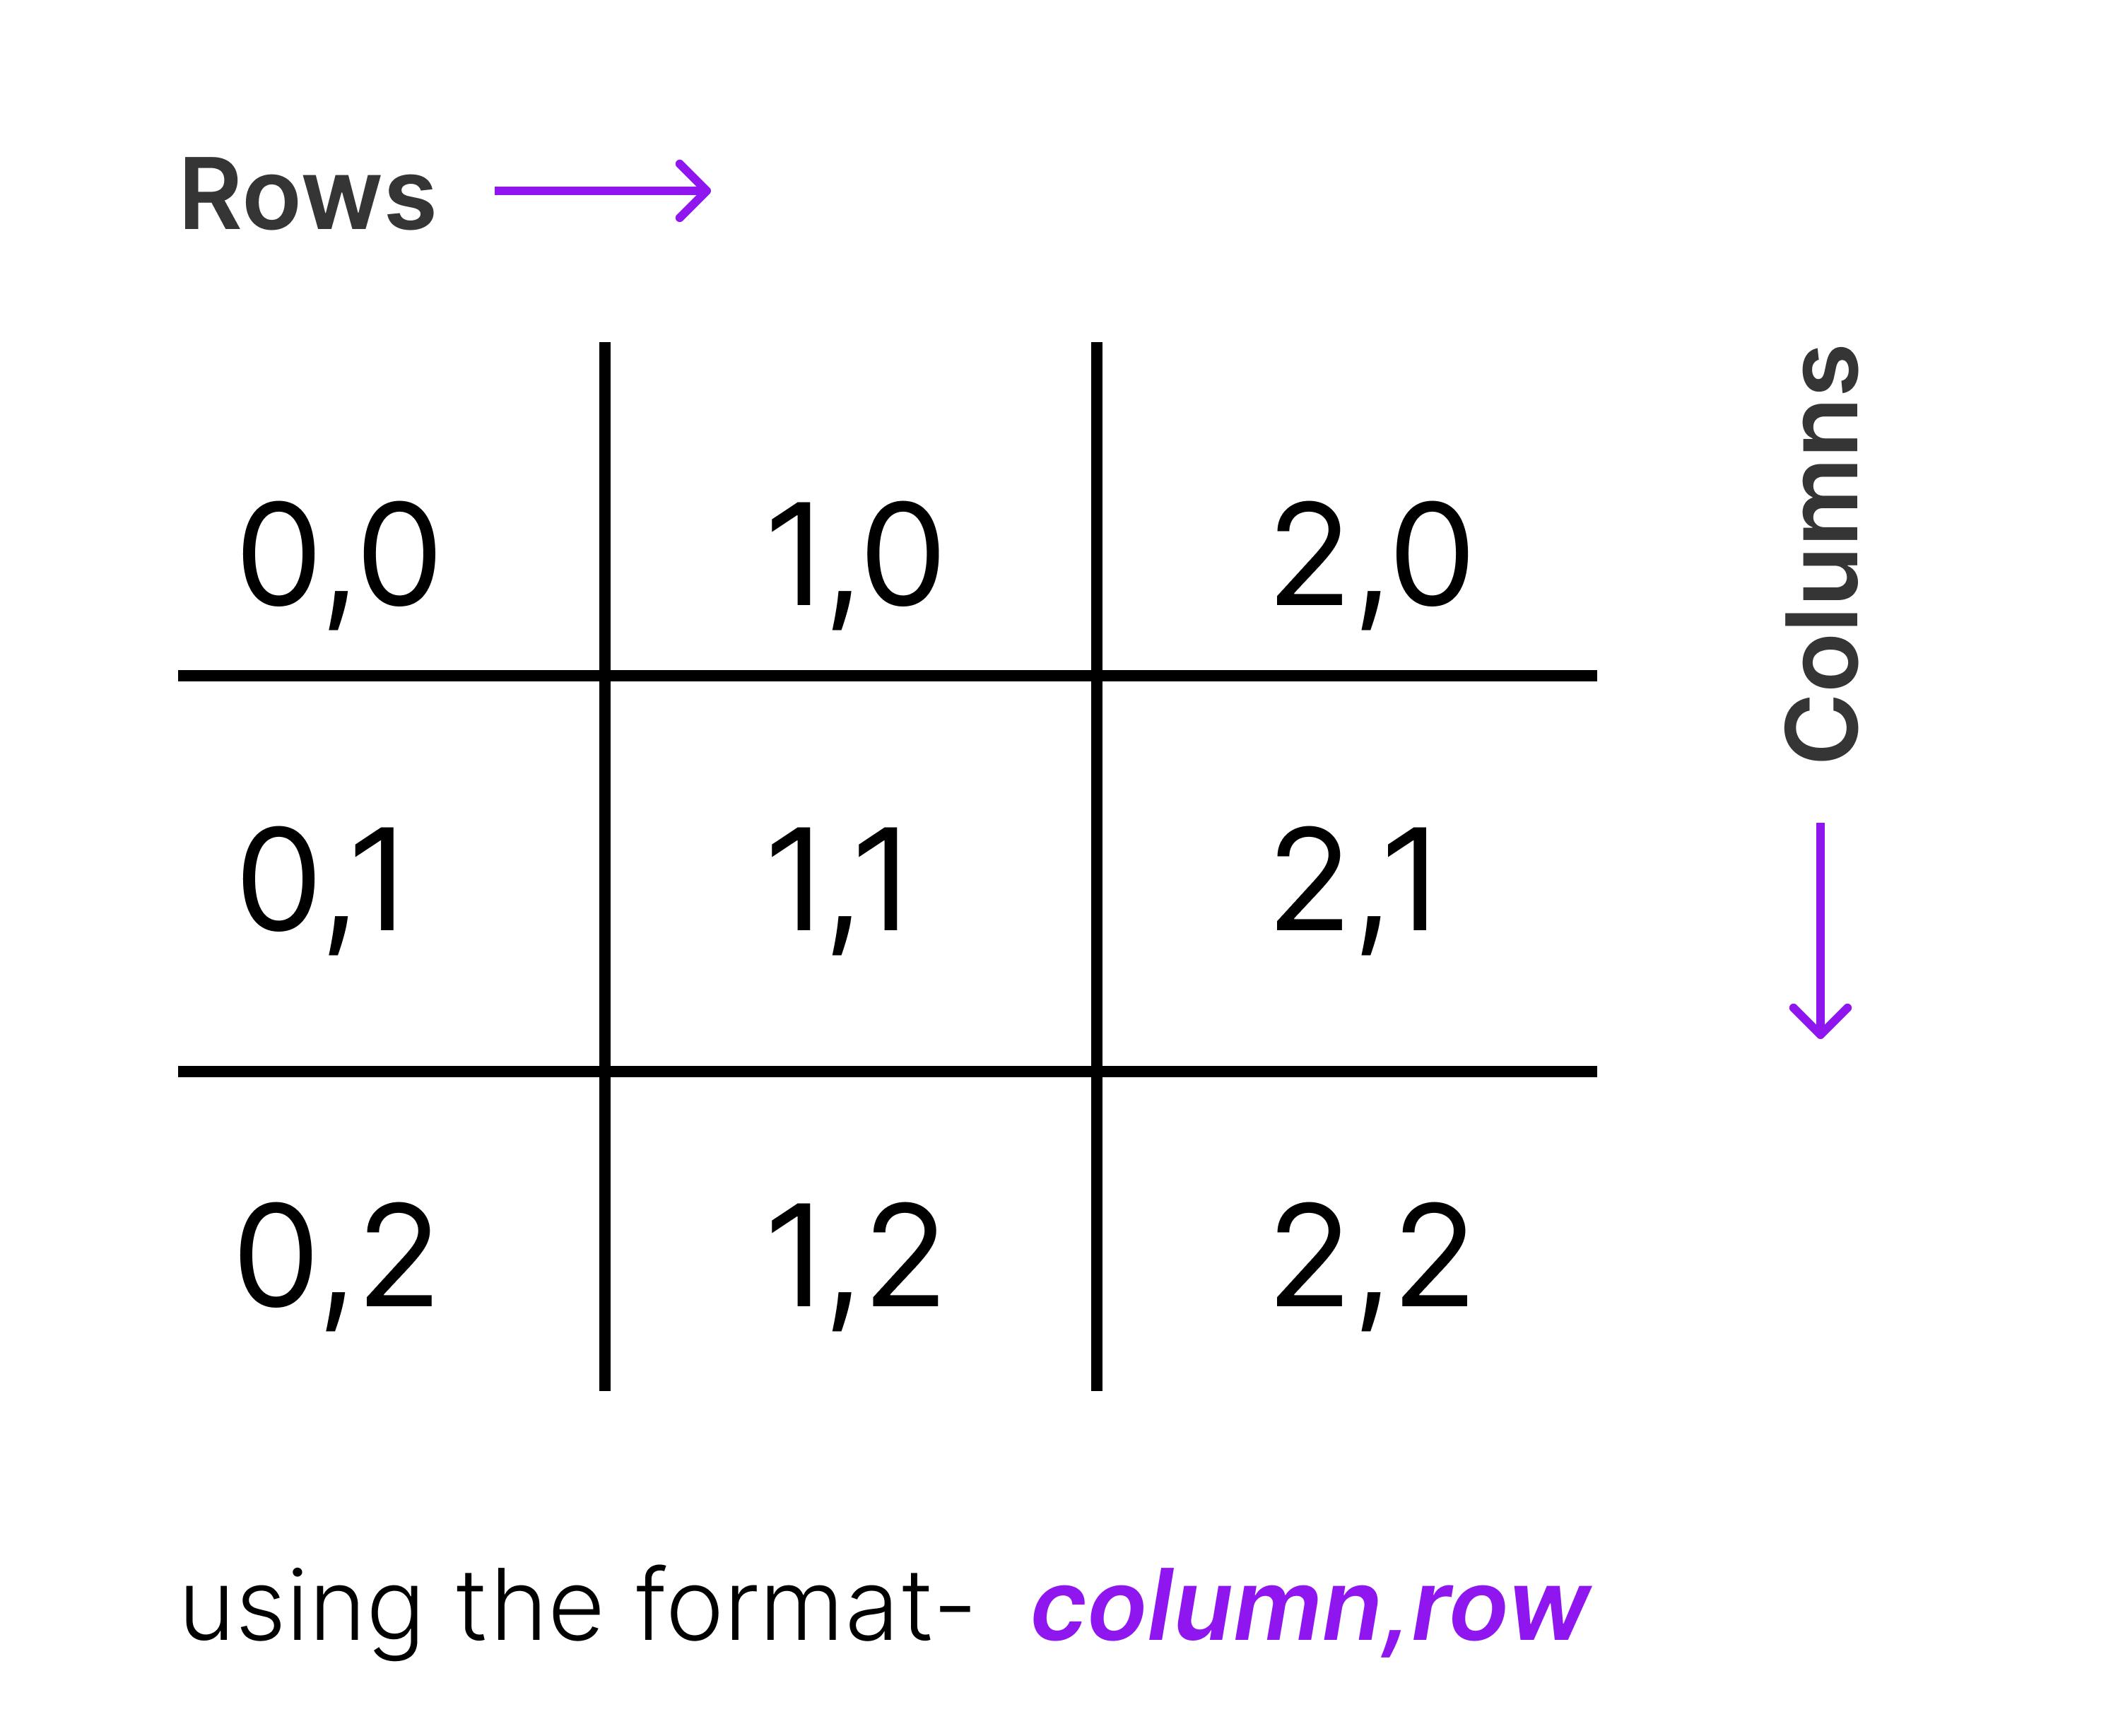
2. The grid() manager:
This is the best approach to laying out widgets on your GUI window. The grid() manager is used to split a window or frame into rows and columns that start with their index number as 0.
To use the grid() manager, here are the attributes it is associated with:
column: This is used to specify the column number to which a widget belongs.row: It is used to specify what row the widget should be placed in.columnspan: It is used to specify how many columns the widget is expanded to.rowspan: Just like columnspan, it is used to specify how many rows the widget is expanded to.padx, pady: This is used to add padding to a widget outside its borders.ipadx, ipady: This is used to add padding inside its borders.sticky: In cases where a cell is larger than a widget, this is used to specify the positioning of the widget inside the cell. This is done with the following values; N, E, W, S, NE, NW, ES, EW, ie — North, East, West, South, North East, North West, East South and East-West.
3. The place() manager:
This is used to place widgets in very specific positions using coordinates given by the programmer. Therefore, this manager uses (x, y) positions in pixels.
For instance, the (0, 0) coordinates represent the origin which is the top left corner of a Frame or window. The x coordinate represents the horizontal axis, and y represents the vertical axis.
Its attributes include:
x, y: This specifies the coordinates for positioning the widget, measured in pixels.height, width: This allows you to specify the height and width of the widget in pixels.anchor: It represents the exact position of the widget in its container. Its default value isNWwhich is the upper left corner.bordermode: WithINSIDEas its default value, this indicates that the other options refer to the parent’s inside, ignoring the borders. Its other value isOUTSIDE, which does the opposite.relx, rely: This represents the horizontal and vertical positioning as a float between 0.0 and 1.0, as a fraction of the parent widget.relheight, relwidth: This is the height and width as a fraction of the parent widget, represented as a float between 0.0 and 1.0.
To avoid running into errors caused by layout managers, make use of only one of the three layout managers as it cannot be interchanged in the same python file.
Conclusion
Several applications can be built using Python and Tkinter as well as other GUI libraries. This article has highlighted the very basics of Tkinter to help you get started.
I hope you enjoyed reading this tutorial and found it helpful. If you have any questions, feel free to reach out through the comments or my twitter and I’ll be happy to answ